How to Take Quality Photos of Your Planted Aquarium
Written By: Chris (@shrimpery)
Aquascaping is a visual hobby. The planted tank is analogous to a canvas, and just like with painting, there is a certain amount of taste needed to achieve a pleasing composition with aquarium plants. While that composition should be appealing to you first and foremost, it’s nice to share it with others.
In order to effectively capture the spirit of a beautiful planted aquarium, having some basic understanding of photography is helpful. I’m not talking focal length or apertures here- all of my photos are taken on my phone! Effective photography need not be overcomplicated, but it can still be surprisingly easy to botch.
Here are some quick tips for how to take beautiful pictures of your aquascape to share with friends (or your Instagram followers).

Lighting
Let’s start at the most fundamental level: lighting. There are a few strategies to lighting that can result in effective aquarium photography.
One approach is to shoot the tank in a dark room, with just the aquarium light providing illumination. This can lead to striking results but is also the most prone to coming off as amateurish. On Instagram, you may have noticed numerous shots of tanks in dark rooms that have a pinkish, fuzzy haze around the tank. This glare is often due to the camera lens being dirty, along with harsh pinkish LED lighting shot from an angle below the light. Besides cleaning the lens, it is often best to angle your camera such that it is above or at the level of the aquarium’s light- this will help reduce the glare I just mentioned.
In addition, try to ensure that the aquarium’s immediate surroundings are very dark. Some people lay a black cloth or black sheets of matte paper around and behind the tank; otherwise, light walls or surroundings can reflect the light and distract from the tank. Additionally, it is important to wear dark clothing when taking photos in a dark room to avoid distracting reflections.
An alternate approach to lighting is to shoot in a room with diffuse, indirect light. This is probably the hardest to mess up, but the rules for glare and reflection as outlined above do still apply. It is important to use natural lighting if possible, as most overhead lights have a yellowish incandescent glow that looks unpleasant against the cooler light of the tank’s lighting fixture.
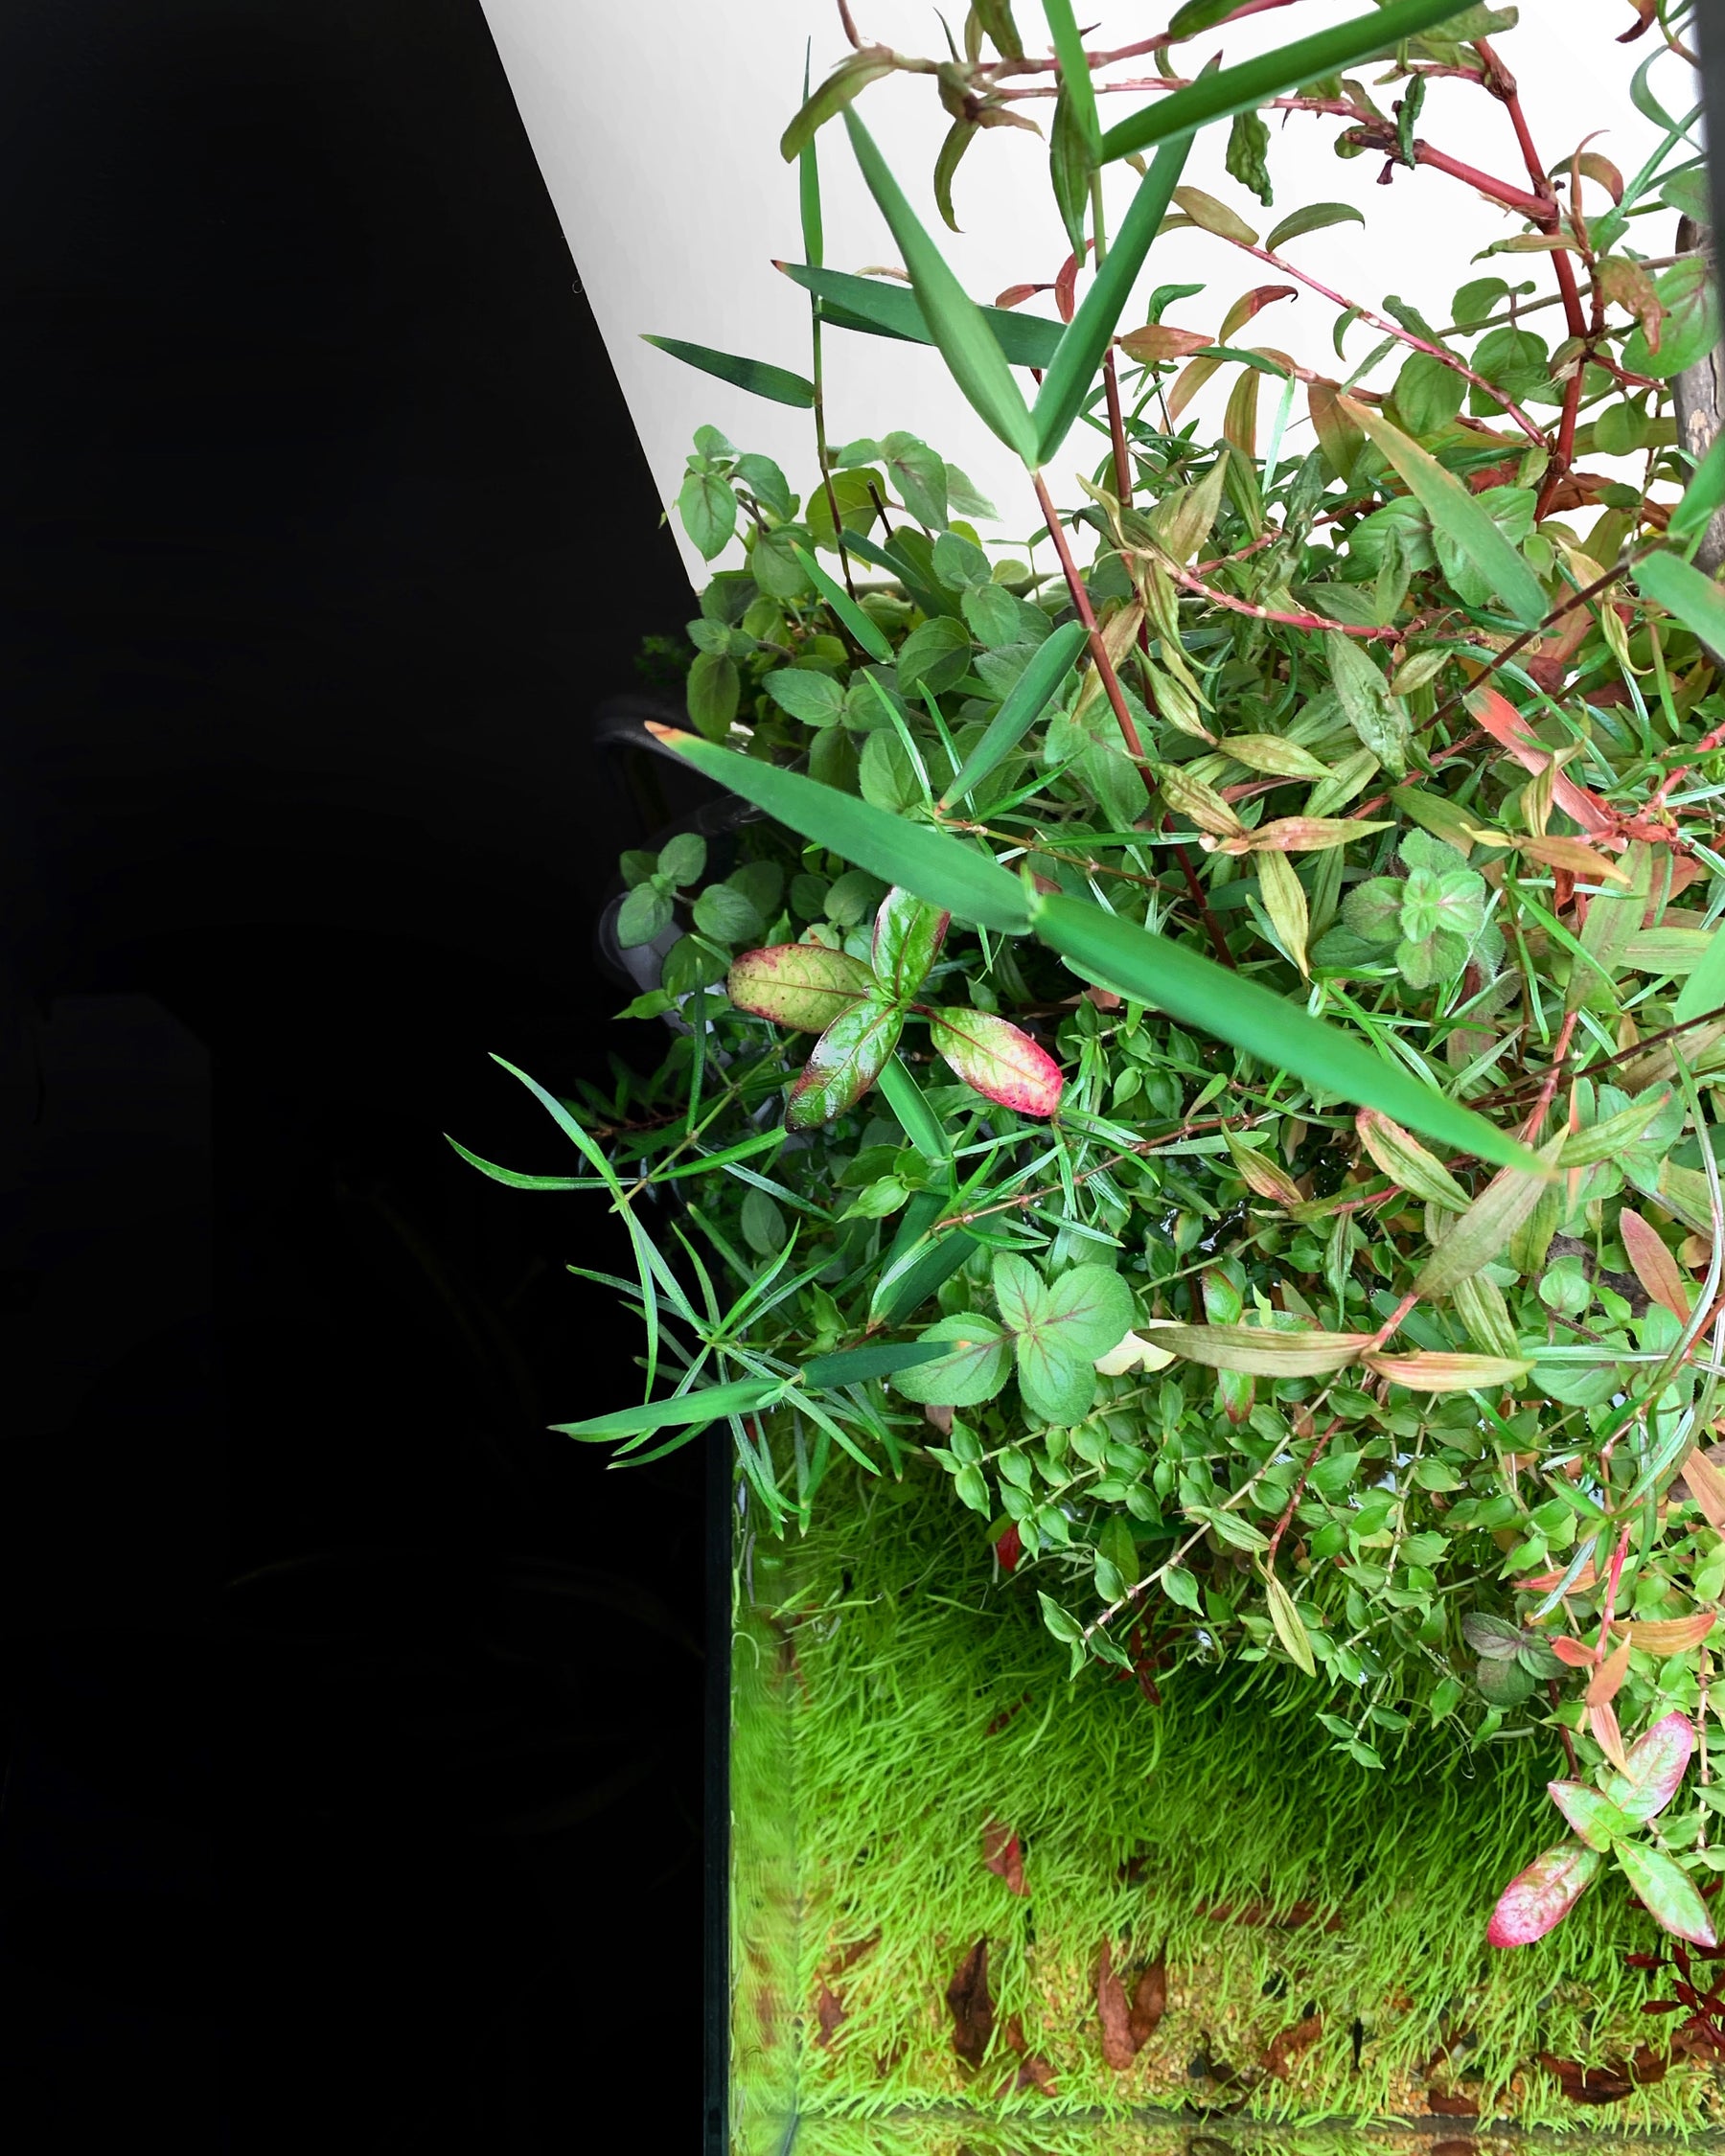
Finally, a bolder and riskier approach is to use direct natural sunlight, if your tank is near a window. I enjoy utilizing natural sunlight in addition to the tank’s fixture in order to really showcase the various colors and textures in the tank. It can be easy to “wash out” your tank using this approach, but if done correctly, it can even make a relatively mediocre scape look good. This lighting technique is especially well-suited for showcasing emergent plants. While I love shooting with natural light, I do try to vary the lighting situation for visual interest and to capture different aspects of the tank.

Framing your shot
Beyond lighting, framing your shot is also incredibly important. I have noticed that many amateur aquarists treat framing their tanks as almost an afterthought, to the detriment of their scapes.
As often as possible, try to include a shot of the entire tank, leaving some negative space in the frame outside the tank. In general, you should remove any clutter around the tank unless it contributes to the composition and shoot the tank from a sensible angle. This will showcase the aquascape as a beautiful feature of the home, especially when shot with natural lighting.
One pet peeve of mine is when people crop the glass edges of the tank from a whole-tank shot. Unless your scape is truly stellar, it is always best to include some corner of the glass, if not the entire tank’s edges. When you crop the shot such that no edges of the tank are visible, the photo loses context within its surroundings. Aesthetics are then surrendered to rote showcasing types of aquatic plants, hardscape, shrimp, etc. Of course, this does not apply to detail shots or closeups that showcase a specific object of interest, such as a particular aquatic plant or fish.
Speaking of close-ups, they are often unsuccessful unless you have a very clean tank and a nice digital camera (or camera phone). When you take a close-up shot, be sure to hold the phone at a straight angle with respect to the glass (even right up on the glass, if you are able to focus on the subject) in order to avoid refraction and distortion. Pay attention to filamentous algae or fish waste lurking on the types of plants- these could be distracting to the viewer, depending on the desired look.
A “messy background” with filamentous algae and debris may be desirable and interesting when showcasing a fish in a biotope or blackwater tank but may be unsettling in setting of a pristine high-tech stem tank. Ultimately, if your phone or camera is unable to achieve higher resolution images, you may be better off sticking to shots of the whole tank, or else particular sections of the tank (glass edges included).

Other Tips
For people interested in posting photos of their tanks on social media, there are some additional points to consider. Try to vary your photography, alternating between photos of different tanks, close-ups, and varied lighting sequences when at all possible.
Avoid unnecessarily abstracted shots (especially if your camera or technique is not professional grade), as they will not generate as much interest.
Focus on building a scene with contrast- this may entail dark wood and rocks juxtaposed against brighter sand, or lush green plants against a bright white background, for example.
Here and there, try to include photos of people, cats, dogs, bunnies, or some other mammal near the tank, as this will show that you are a human just like the viewer.
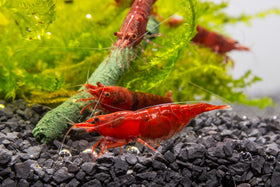
Try to think about what would draw your attention as you scroll through Instagram or Facebook. Perhaps your significant other trimming stem plants in a bright and clean room, or a group of happy shrimp foraging on sand under natural lighting), and what would be less appealing (a slightly blurry shot of a shrimp sitting on some moss under a pinkish glare, shot in a dark room).

There is no need to overcomplicate photography if you are primarily interested in translating your tank from your home to the internet- all you need is a decent camera phone and the tips I just outlined. Above all, it is more important for the tank you bring you personal enjoyment- the happier you are with your scape, the more eager you will be to share it!
Tell us - Was this article helpful? Please comment your thoughts!
If you have any questions regarding this article, please DM us on Instagram or Facebook so we can assist you! @buceplant


Comments
Leave a comment