


Thoughts on Hardscape in a Planted Aquarium
Written by: Chris (@shrimpery)
If you keep up with planted aquarium enthusiasts, you’ll often hear them mention hardscape. Traditionally, this means the rocks, driftwood, and occasionally gravel or cosmetic sand used in the front of an aquascape. Almost as important as the plants themselves, good hardscape can help make or break an aquarium. With that in mind, I wanted to share some personal thoughts and strategies towards achieving a successful hardscape selection and layout.
I like to play around with my hardscape in an empty tank before scaping, choosing the strongest layout ahead of time, and snapping a cell phone pic for reference when I start scaping. Historically, I’ve made the mistake (if you want to think of it that way) of choosing hardscape that was too small for my tank. When you do this, it tends to get ‘lost in the sauce,’ in the case the sauce being healthy plant growth. With structured, bushy plant arrangements, this often isn’t such a problem, but it still pays to choose large enough hardscape for the tank in question (usually picking wood that’s 2/3 as tall as the tank will do the trick).
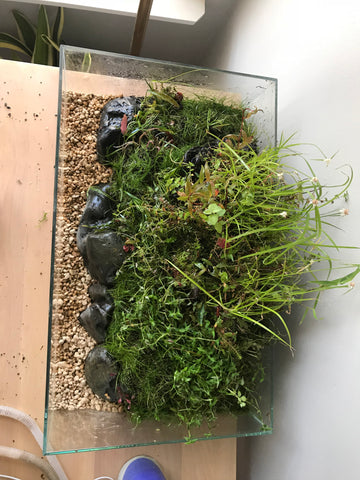
Another consideration, in terms of placement, involves orienting the wood or rocks in a harmonious manner. It’s best to leave a relatively narrow foreground in front of the hardscape; this helps give a good sense of scale. In terms of layout, the hardscape often looks best if it’s amassed to either the left or right sides of the tank (especially with wood), sloping downwards from one side to the other, almost like a triangle. Alternatively, you can do a convex or concave layout, where most of the hardscape is oriented either towards both sides of the tank with a more open space in the middle or else clustered in the middle of the tank, respectively.
I like to use branching driftwood; horn wood and spider wood are two of my favorites. A classic rookie mistake is to use wood that looks obviously chopped or cut; it’s best to choose the most natural-looking pieces possible. Before adding the driftwood to the tank, it helps to either boil it or let it soak in a bucket of water for a couple of weeks. This will ensure that it doesn’t float up to the surface, and helps prevent the characteristic growth of white fungus often seen on newly submerged wood. I also like to tie small pieces of moss to the wood with green cotton twine. The moss will soon spread across the wood, hiding the string (which will naturally biodegrade on its own). Finally, make sure to leave a decent amount of space behind the wood for the stem plants to grow. With all of the driftwood directly against the back of the tank, the scape will look somewhat unbalanced.
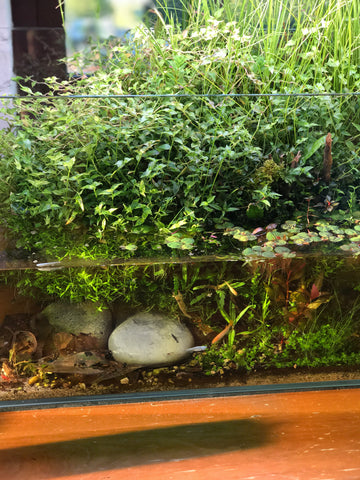
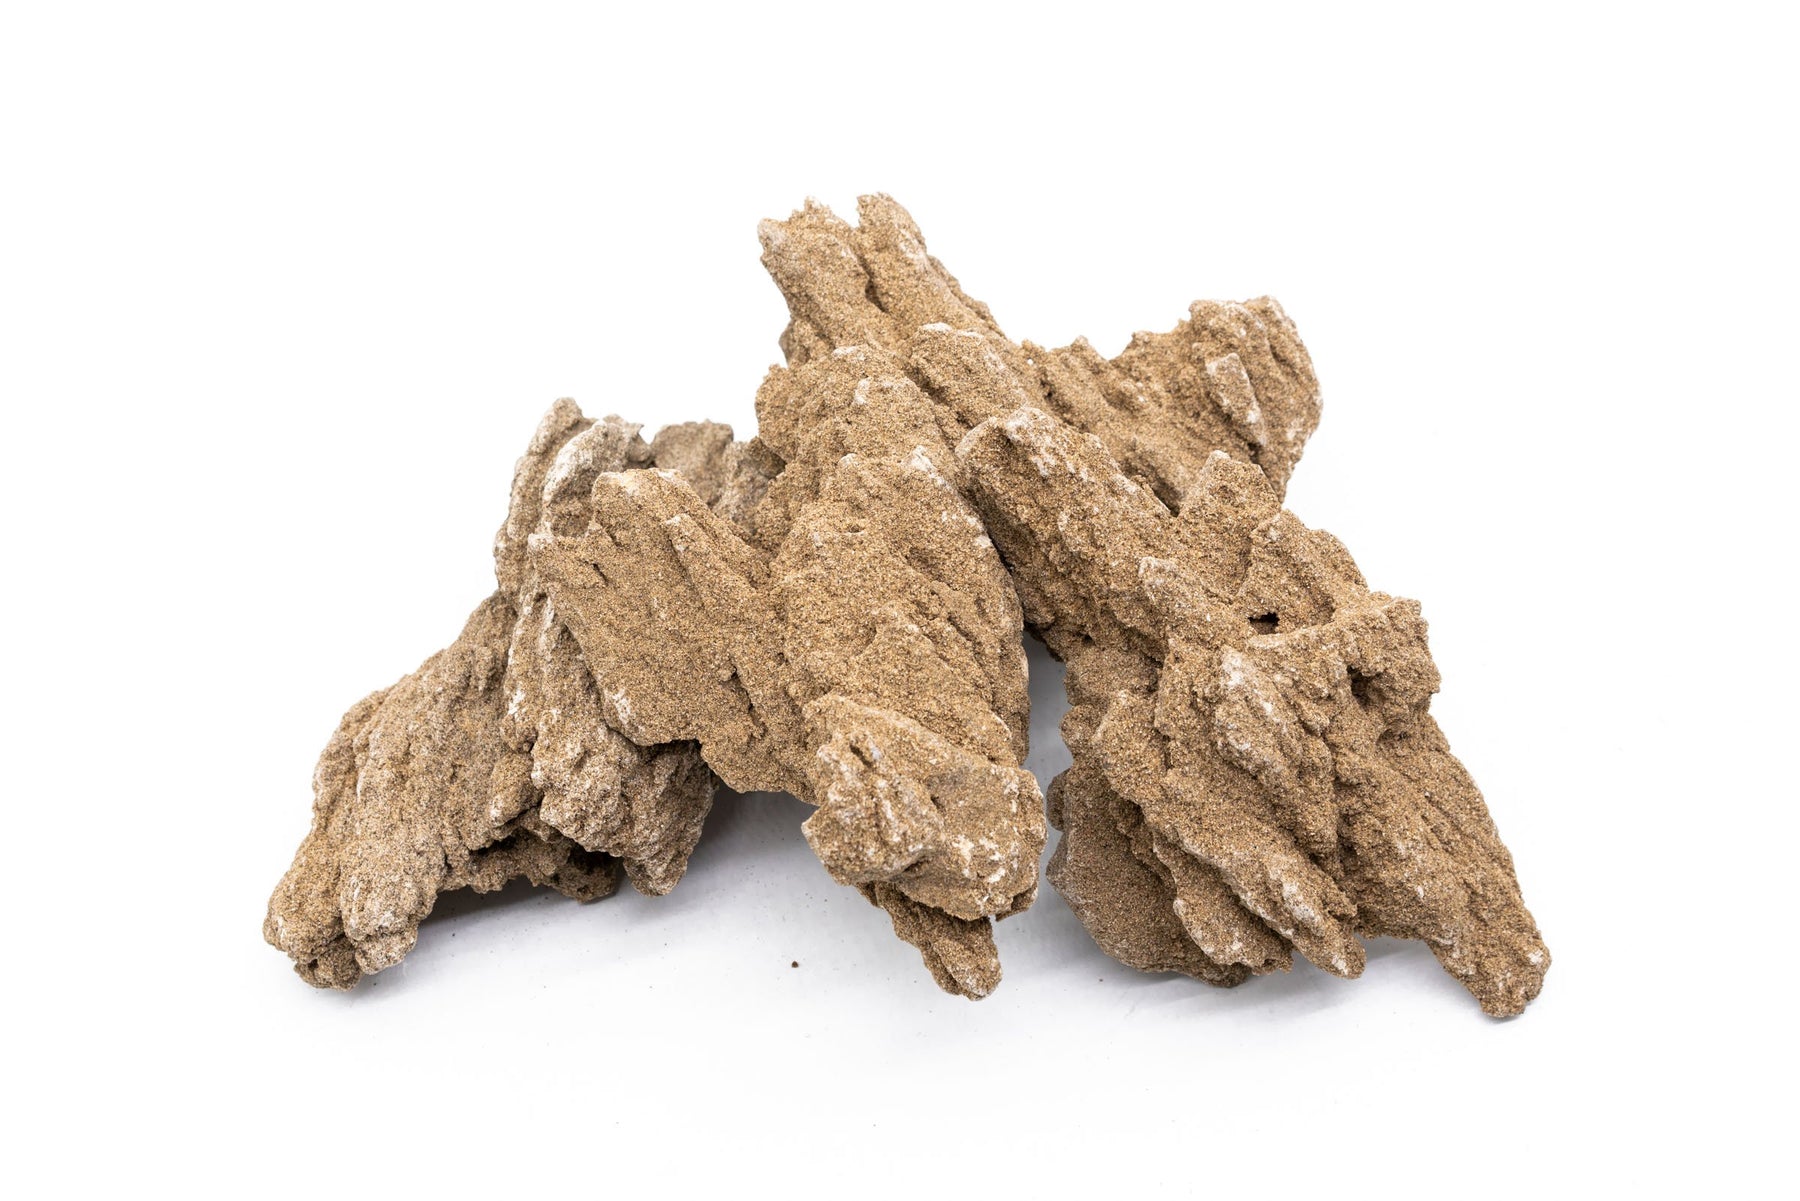
In terms of rock, there are many options to choose from. For two reasons, I would only purchase rocks from a supplier like Buceplant (versus grabbing your own from the woods or the side of the road). For one thing, the carefully curated selection of rocks will be more aesthetically pleasing and better suited for the dimensions of the home aquarium. Additionally, and most importantly, the rocks will be carefully chosen not to influence the water chemistry of the tank. Foraged rocks will often make the water more alkaline as they slowly leach minerals, or else contain heavy metals that are toxic for invertebrates like shrimp (sometimes even fish). In terms of rock selection, there are many varieties to choose from as personal taste dictates. But regardless of stone type, it’s always smart to get a variety of sizes and shapes, to provide contrast and variation. Traditionally, an odd number of rocks are used in the aquarium to ensure that the layout doesn’t look too studied.
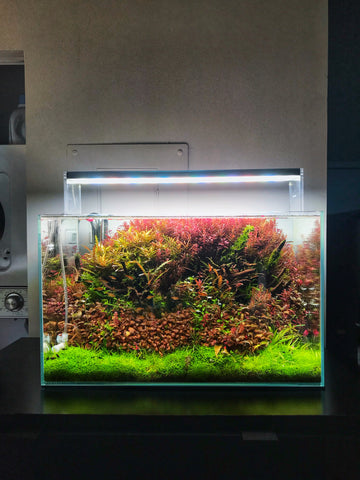
Some scapers (myself included) often like to use cosmetic sand or gravel towards the front portions of the tank to reduce maintenance and brighten up the tank’s general appearance. When choosing sand for this purpose, I like to pick larger grained sand, with varied sizes and colors of sand granules (as opposed to homogeneous pool filter sand or ‘sandbox sand’). In my opinion, this looks more natural and prevents sand compaction, which can lead to aerobic, anoxic pockets and suffocate plant roots. It also allows any organic debris to settle between the sand granules in between cleanings. I like to mix a few pieces of similarly colored gravel here and there into the sand, increasing in frequency towards the back of the sand section. This helps provide a sense of scale, and (again) looks more natural.
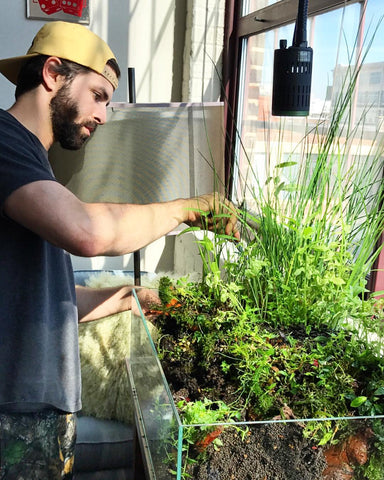
These are just a few little tips to help provide some extra background for one of the most fun parts of setting up a new tank. There are no hard and fast rules- go with what feels natural and looks good to you. Just don’t forget about the plants (the real stars of the show) in the process!
Tell us - Was this article helpful? Please leave a comment below!
If you have any questions regarding this article, please DM us on Instagram, Facebook, or email support@buceplant.com so we can assist you - @buceplant
Comments
Leave a comment