7 Easy Steps to Drip Acclimate Shrimp and Fish
Written by: Tammy (@aquarist_tl) and Team Buce Plant
As aquarium-keepers, we all want our shrimp and other fauna to live long, happy lives in the aquascapes made just for them. However, the way in which we introduce them to our tanks is extremely important to their livelihood.
Acclimating new aquatic inhabitants to your aquarium’s water is an important step in ensuring their health and success in their new home. This is especially true for freshwater shrimp, as they are very sensitive and susceptible to shock if anything is askew. As much as we want to rush the acclimation process to see the shrimp and fish in their new tank as soon as possible, it is crucial that we take our time to let them slowly adjust to the new parameters.
If you rush acclimation, it can result in putting your new fauna under a lot of stress that can cause health issues or even death.
Although we will be describing how to best acclimate shrimp, all of this information can be applied to your new freshwater fish as well. Acclimation is key for any new fauna to thrive in your aquarium. That being said, if you're here to learn more about how to acclimate fish or shrimp to your planted aquarium, keep reading!

Acclimation Methods: Which is Best?
There are two main ways of acclimating fauna to a new aquarium: The "plop and drop" method and the "drip acclimation" method.
The "plop and drop" is a quick and easy way of acclimating fauna that focuses solely on adjusting the temperature of the water. Essentially, you acclimate the fauna to your tank's water temperature simply by floating the bag in the tank for at least 15 minutes before releasing them into your aquarium.
However, the plop and drop technique will not cut it for shrimp or other sensitive fauna because it does not allow them to acclimate to the other water parameters (such as pH, ammonia levels, etc.) It's important to note that the drastic difference between your tank's water parameters and the parameters of the water in their bag could still send them into shock. Temperature acclimation alone will not be sufficient for fairly sensitive species like freshwater shrimp.
On the other hand, the "drip acclimation" method will allow your new fauna to slowly acclimate to all of the water parameters of your tank, making for a smoother transition from the bag to the aquarium. This will lower the chances of the drastic difference between your tank's water and the bag's water being detrimental to your fauna.
Shocking your shrimp or fish with methods like the "plop and drop" method can put them at risk of experiencing instant health problems and potentially dying. For that reason, the best acclimation procedure for new shrimp and other sensitive fauna is the drip method.

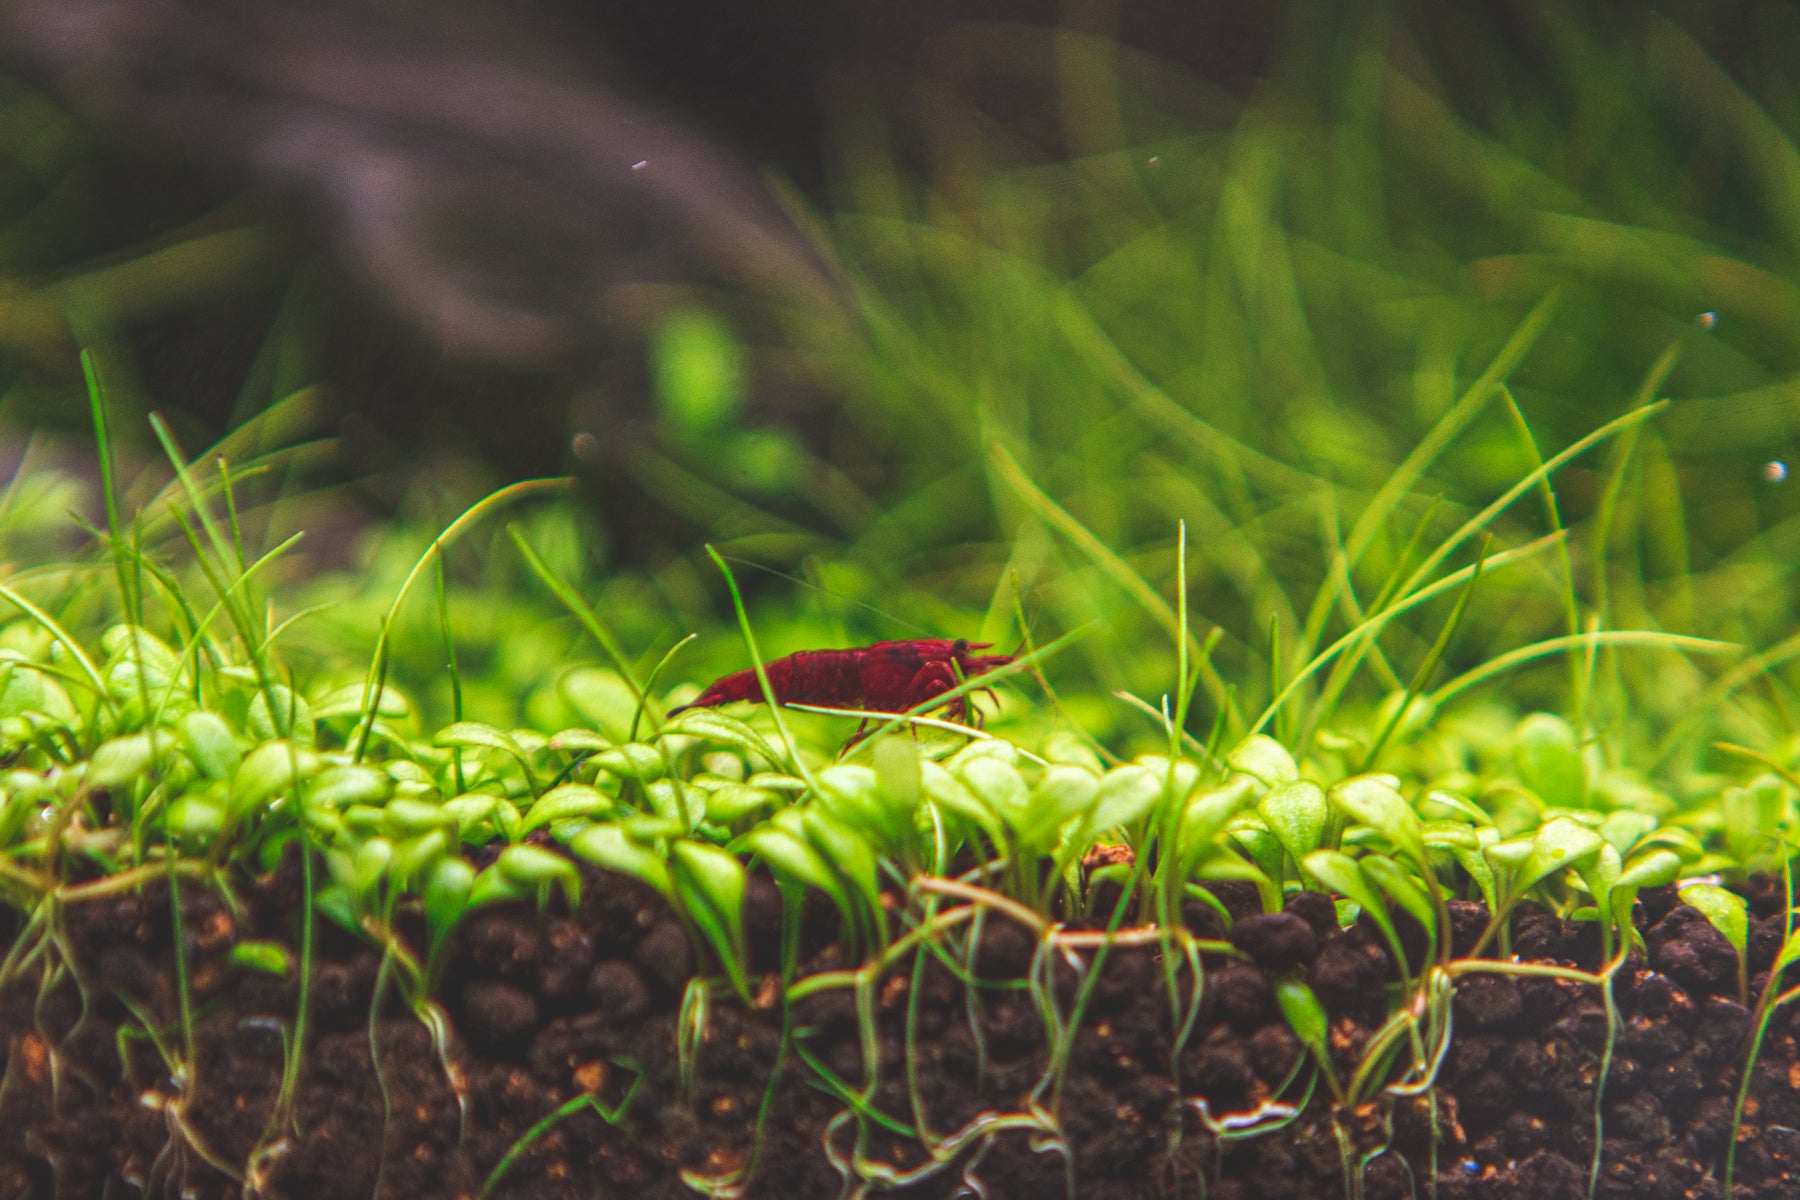
Green Jade Shrimp grazing on moss
The Drip Method Step-by-Step Guide
Step 1: Preparation
Before you begin, be sure to dim, reduce, or completely shut off your aquarium lighting. Suddenly exposing your shrimp or fish to bright lights can cause them to feel stressed with nowhere to hide. Lowering your lighting will allow for a calmer experience as they adjust to your tank.
Afterward, be sure to gather the following:
- Shrimp net - After the acclimation is complete, this net will be used to transfer the shrimp or fish into your tank.
- Bucket or small container - Make sure the container is large enough to contain at least double the amount of the water in the bag containing the new fauna.
- Airline tubing - Small tubing that will be used to siphon water from your tank to the container. To make the process easier, make sure the tubing is about 3 feet long.
-
Dechlorinator/detoxifier - Such as SL-Aqua Stabilizer+. Not absolutely necessary in all cases, but recommended. Have a small amount ready. You may need just a drop for Step 3.
Step 2: Perform a Visual Inspection
Before beginning the dip acclimation process, inspect your shrimp to see how they’re doing. Look for any parasites and for any dead shrimp.
If you see issues (and you bought them online), make sure to take pictures of the affected shrimp in the unopened bag. Upstanding online retailers (like Buce Plant) have a 100% live arrival guarantee and will do their best to make it right as long as proof is provided.
- Side note: Ideally, you'll be acclimating your fauna to a previously set up quarantine tank. We understand that many hobbyists don't use a quarantine tank, but it's a great safety precaution for aquarium owners who are wary of potentially spreading parasites and disease to their existing tank. If you do notice any parasites, your shrimp will absolutely need to be quarantined and treated appropriately prior to adding to your aquarium.
 Healthy Crystal Red Shrimp enjoying their new aquarium
Step 3: Transfer the Shrimp to the Container
Before opening the bag, it's important to understand that if the bag is "non-breathable," then there may be a buildup of CO2 trapped inside of the bag. This causes the pH of the water to drop. In water with low pH like this, ammonia is less toxic, so the shrimp should be fine if there’s not an overwhelming amount in the water. However, once the bag is opened and the water is exposed to oxygen, the pH may swing and the toxicity of the ammonia can become deadly.
- Note: If there are any dead shrimp, you can add a drop of detoxifier (like SL-Aqua Stabilizer+) to the water once the bag is open. You can still do this as a precaution, even if there were no DOAs (shrimp that were dead on arrival.) This will help neutralize the excess ammonia and improve the water quality. Once the detoxifier is added, you can remove any dead shrimp from the container.
Open the bag and gently pour the water and all shrimp from the bag into a container or bucket that can hold at least double the amount of water from the bag. This is because water from your tank will be added to the container, so you will need more room for more water.
Step 4: Start the Drip
First, make sure that your container with your shrimp is sitting lower than your tank (this will allow for an easy siphon.)
Then, grab the airline tubing and clip a part of the tubing to the tank so that the end will stay submerged underwater.
Next, tie a loose knot in the middle of the tubing. Start a siphon by sucking lightly on the other end to get the water flowing. Once it’s going, quickly tighten the knot in the middle of the tubing until you see that the water is coming out at the other end in droplets. Adjust the knot until you can get a rate of 1-2 drops per second dripping into your shrimp container.
As the water from the tank slowly drips into the container holding the shrimp, the water parameters in the shrimp's container will gradually get closer to matching the parameters of your tank.

Step 5: Wait
Wait until the amount of water that was originally in the container doubles before transferring the shrimp into their new home. To better explain, once the total amount of water in the container is 50% bag water and 50% tank water, then it is time to transfer your shrimp. This could take 1-2 hours depending on the drip rate and the original amount of water that was in the bag.
- Note: If you want to play it even safer, you can wait even longer before adding the shrimp, until the total amount of water in the container is 25% bag water and 75% tank water.
Step 6: Move the Shrimp to the Tank
When moving the shrimp into the tank, do not pour the water in the container into the tank. You do not want any of the ammonia or any harmful bacteria that is potentially lingering from the bag water to enter your aquarium. In order to avoid contamination, use a shrimp net to scoop the shrimp out of the container and release them into the tank.
Step 7: Observe Their Behavior
Finally, we can step back and watch our new pets in their new home. Observe your shrimp (or fish) and make sure they look like they’re doing okay.
If you notice your fauna twitching/spasming or darting around the tank, this is a sign that they are stressed. For shrimp, if they suddenly jump up and freeze while mid-air (or mid-water?) before slowly descending back down, this is also a sign that they are stressed. If multiple shrimp are doing this repeatedly, that is not a good sign.
However, if they are just crawling around and exploring, then this is a sign that their acclimation was a success.
 Blue Bolt Shrimp scavenging for food
Shrimp are quite sensitive compared to other aquatic pets, but if they are properly acclimated into a well-established planted tank, they will thrive in their new homes! Shrimp-only tanks can require less maintenance as there is less waste being built up; especially if they’re kept in tanks with plenty of aquatic plants. Once they’re comfortable in their environment, they can start breeding, and you may soon have a huge colony of shrimp in your aquarium!
For more information on freshwater shrimp care, check out these articles:
- A Guide for Keeping Freshwater Shrimp
- Guide: How to Breed Freshwater Shrimp
- Why Are My Shrimp Dying?
Tell us - Was this article helpful? Please comment your thoughts below!
If you have any questions regarding this article, please DM us on Instagram or Facebook (@buceplant), or email us directly at support@buceplant.com so we can assist you - questions will not be answered here.


Comments
Leave a comment