


How to Do a Water Change (& Why It's Important!)
Completing successful water changes for your aquarium is a critical part of effective tank maintenance and is key to healthy plants and fish. We know how important water changes are when maintaining a planted aquarium.
At the end of this article, there will be a quick 5-step guide to performing an easy water change.
But first, we have created a guided overview to help aquarium enthusiasts understand why water changes are so important and how to complete the best water change possible for their own tank. Every tank is different...in order to better understand what your tank needs when it comes to water change--just keep reading!
- Tip: If you are a beginner, we recommend starting with a small low-tech tank until you better understand water parameters and how they affect your livestock.
Percentage & How Often
One of the most common mistakes aquascapers make is not performing water changes often enough. Many problems that aquascapers face, including algae, can be easily fixed by increasing the frequency of your water changes.
How do you decide how often to perform a water change? What percentage of water do you plan to remove and replace?
This can be determined by your tank’s bioload. The more livestock you have, the greater the bioload. You may need to perform larger water changes more often if you have a tank that produces a significant amount of bioload.
- The importance of removing bioload from your tank is explained further in the Water Quality section below.
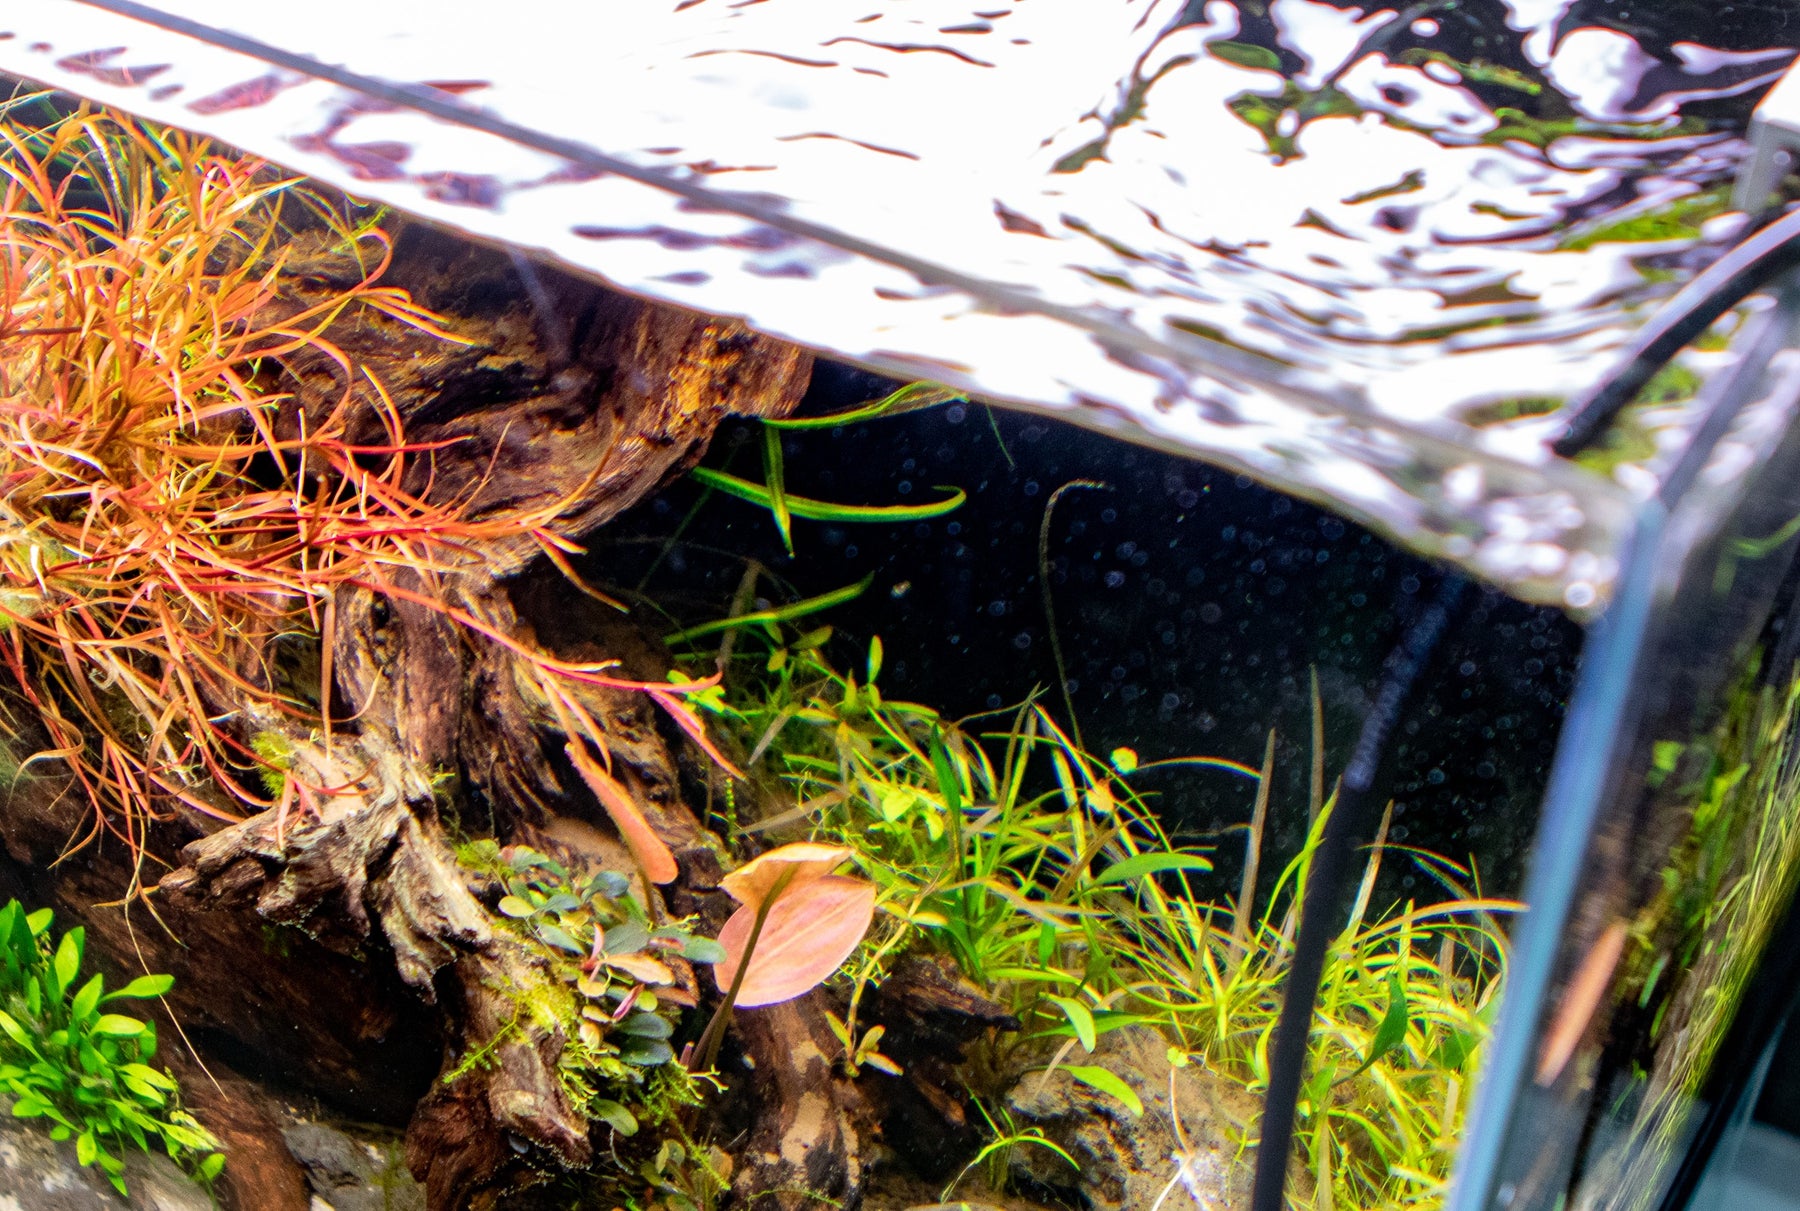
Weekly maintenance of your planted tank is key. It will aid in the prevention of algae blooms and other issues that may occur in your tank.
Tanks with smaller amounts of livestock and powerful filtration (nanotanks included) can get away with a smaller 15-20% water change weekly (20% for bi-weekly).
Larger tanks with substantial amounts of livestock will require a 30% - 50% water change weekly.
- Throughout the first month of a new tank, it is recommended to keep up with your water changes more often (2-3 times per week) until your tank has established itself.
Do not skip water changes! Doing so can be detrimental to the livestock in your tank. It is an important responsibility when keeping a planted aquarium.
Equipment
Now that you know how much water you need to remove and how often, it’s time to grab your water change setup.
You will need:
- A large empty bucket (approx. 5 gallons is standard)
- A siphon/gravel vacuum
- Dechlorinator
- Water test kit
The bucket is needed for old tank water to flow into and the siphon is the medium to remove water from the tank. Volume markings on the bucket are also important because they can help you calculate the percentage of water you’re removing from your aquarium. A bucket with the appropriate water change capacity is also critical, but make sure you can carry that bucket fully loaded.
Your siphon can be a simple piece of airline hose, but it’s easier with a gravel vacuum (like the Qanvee) which is specifically designed to clean and vacuum an aquarium. We recommend the Qanvee Gravel Vacuum Siphon which comes in different sizes & is easy to use. When refilling your tank, only use water that has been dechlorinated/conditioned/purified and is at the right temperature. (More details about Water Quality are below)
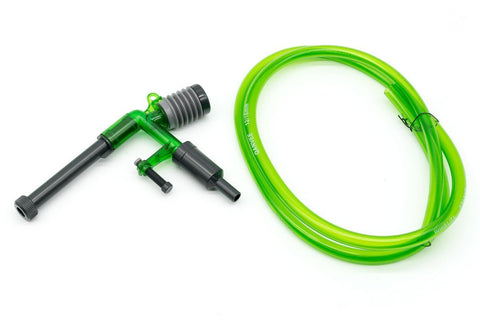
Pictured above: Qanvee gravel vacuum siphon
If you are experiencing algae problems, we recommend using SL-Aqua Aquarium Plant Protector Z2 during your water change. The Z2 specialized formula is made from all-natural plant extracts that act as algae clearing agents in an aquarium. Use Z2 after you’ve removed old tank water, follow dosage instructions carefully, and add the Plant Protector before adding the new tank water.
When adding water back to your aquarium, achieving a slow steady flow is the smoothest process to allow the water parameters to acclimate. This can be best achieved by elevating your bucket above your aquarium and using your gravel siphon to pull water from the bucket into your tank.
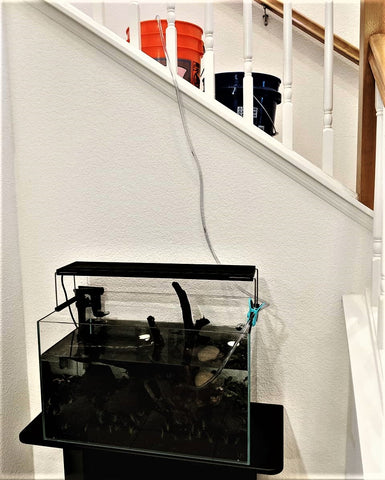
Pictured above: Bucket elevated above tank for slow steady water flow. Credit: @jdp_aqua on Instagram.
Water Quality
- Note: You must conduct research on the specific water parameters needed for your plants or any other livestock to thrive in your tank.
It is important to take into consideration the water parameters of your tank AND the water you will be adding into your tank during water changes.
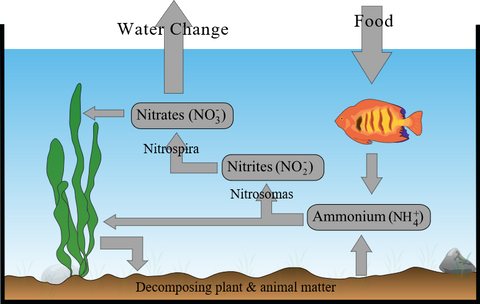
Once your tank has established a nitrogen cycle, beneficial bacteria will convert harmful toxins into less harmful substances (ie. nitrate). Still, you must remove the high levels of accumulated chemicals (like nitrate) and toxins through water changes.
It’s critical to understand the quality of water you are adding to your tank. Unless you are using pure reverse osmosis water, you need to get to know your tap water before performing a water change.
Aquarium testing kits will help you understand important water parameters of your tap water, such as pH, ammonia, nitrite, nitrate, and GH/KH. Once you’ve established a baseline for your tap water, then you can tweak the water parameters to perfectly match what you need for your aquarium.
PH refers to the acidity of your tank water. The correct pH balance needs to be established in your tank for your livestock to thrive. Keep into consideration the many factors, including stones or other hardscape material, that can affect the pH balance in your aquarium. Some plants or fish prefer specific levels of pH. If this is the case for you, we recommend testing your tank water every couple of days after a water change.
KH (carbonate hardness) and GH (general hardness), are influenced by your pH levels. The higher your pH level, the higher your GH level. An imbalance in these parameters can be detrimental to certain livestock...so pay special attention to these parameters after water changes.
If you have fish, take note of the ammonia and nitrate levels in your aquarium. Ammonia is produced from fish waste, which converts to nitrite, then nitrate. This nitrification in your tank can eventually become harmful to your livestock when imbalanced. You will be able to remove some of the nitrates that have begun to pile up during a water change. Although nitrates are generally harmless, they can become problematic if left to accumulate in your planted aquarium. You can prevent this by conducting regular water changes and having enough plants to recreate a natural ecosystem in which the chemical balance in your tank can be easily maintained.
If you begin to notice a change in your fishy friends’ behavior after a water change, such as loss of appetite, there may be a problem with your water parameters. In addition to water changes, there are many other factors that can affect water parameters in your tank (such as waste, plants, hardscape). Make sure you check your water parameters regularly to avoid any complications.
Dechlorinating Your Water
Water that comes straight from your tap has chlorine added, which is great for clean drinking water, but NOT friendly to your aquarium’s bacteria colony. Chlorine can also destroy your plants and be fatal to your livestock.
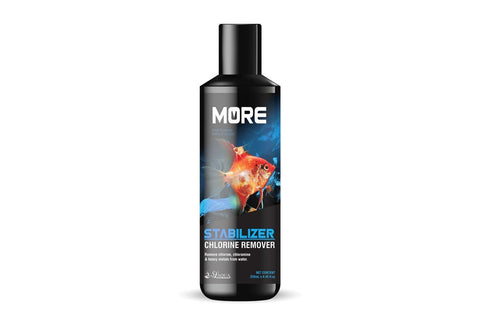
To get the best results, you must dechlorinate water using a dechlorinator before adding it to your tank to prevent damage to livestock (ex. melted plant leaves, damaged fish gills, and destruction of beneficial bacteria). We recommend the SL Aqua Black More Stabilizer, which is a highly concentrated formula that acts as a dechlorinator while ensuring the water column is rid of heavy metals.
Before dechlorinating your water, make sure your bucket has been properly cleaned. Then, pour the exact amount of water that you’re planning to add to your aquarium in the bucket you’ll use to siphon from. Then, add the prescribed amount of dechlorinator per the bottle’s instructions.
Temperature
Temperature is an important parameter to monitor during a water change. Many species of fish and dwarf shrimps can be sensitive to rapid temperature changes, so it's important to note the temperature in your aquarium and the new dechlorinated water you plan to add. Even a 5-degree difference in the water could shock your livestock.
How do you ensure minimal temperature change in your aquarium?
Before adding the new dechlorinated water, set a heater in the water until the temperature matches the temperature of your tank.
If you are not running a heater in your aquarium, then leaving the container of new water in the same room as the tank for a few hours will ensure both the new water and aquarium will have the same temperature.
Easy 5-Step Water Change
Now that you have your equipment ready and you understand the importance of water parameters, here are some quick and easy steps to performing your water change.
1. Prepare your new tank water. Make sure you allow yourself enough time (can sometimes take up to 24 hours) to ensure all of the above water parameters are just right for your tank before continuing with the next steps.
2. Prepare your tank. Turn off any equipment that may be exposed to air during the process (filter, CO2, heater).
3. Clean your tank. Now is the time to quickly scrape the glass and trim/remove any dead leaves. Spruce up your plants by trimming off dead and dying leaves, then remove as much as you can from the water with a net before siphoning. We recommend using UNS scissors for easy trimming.
4. Siphon out old tank water into your bucket & vacuum the substrate. While removing water from your tank, make sure to keep the head of the gravel vacuum close to the substrate to remove tank water that has accumulated waste and other toxins. Carefully vacuum through your entire substrate to remove as much waste as possible. This is also the perfect time to remove any other plant waste left in your tank after pruning.
- Note: If you have small fish or any other critters in your tank, make sure to keep an eye on them when siphoning water. You don’t want to accidentally suck them out of your tank!
- Note: If you plan on using the Z2 Aquarium Plant Protector for algae problems, add the instructed dose after siphoning out the old and before siphoning in the new. Read instructions on the Z2 container carefully before use.
5. Add your prepared new tank water. Double-check that the water parameters and temperature are correct beforehand! Make sure the siphon introduces a slow steady flow of new water into your tank. Once completed, you can turn your equipment back on (filter, CO2, heater). Continue to monitor your tank’s water parameters every couple of days.
Now that you’ve read this entire article, you now have the knowledge to master the art of water change and you’re one step closer to being a next-level aquascaper. 👍
Tell us - Was this article helpful? Please comment your thoughts below!
If you have any questions regarding this article, please DM us on Instagram, Facebook, or email us directly at support@buceplant.com so we can assist you - @buceplant
Comments
Leave a comment