Set Up: Low Tech Planted Tank for a Betta Fish
Written by: Tammy (@aquarist_tl)
In this blog post, I'll explain my thought process on setting up my recent planted betta tank. It had been a while since I last aquascaped a low-tech planted tank, and I decided to document the journey to share with you all.
For this set up, I knew I wanted something easy to maintain and an environment that is great for keeping a betta fish. With these thoughts in mind, I chose to do a small low-tech aquarium for my betta tank setup. While a high-tech aquarium would allow me to expand the choices of aquatic plants I’d be able to use, I wanted something minimal so I can focus more on the health of my betta.
How to Set Up a Betta Tank
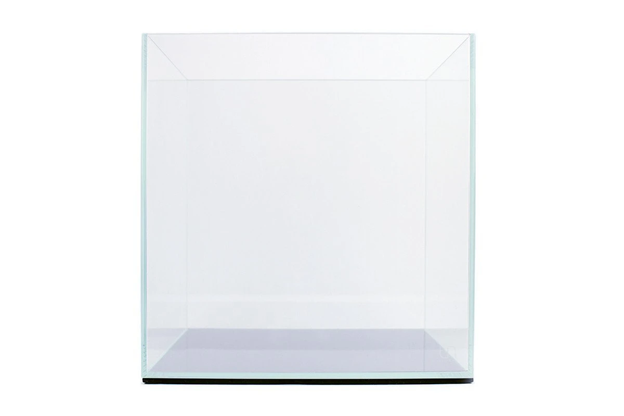
Once I knew I wanted a low tech aquarium, I headed over to Buce Plant to browse for all the equipment and materials I would need. I knew I wanted a nano tank (under 10 gallons), but something still big enough for a betta to have plenty of room to swim. Recommended is a minimum of 3 gallons, ideal is 5 gallons, but the tank I ended up picking out is the UNS 30C, a high-quality cube tank that holds about 7 gallons of water.

After the tank, I looked into their choices for hardscape. There were so many options of driftwood and stones to choose from! Since bettas typically prefer water that’s on the softer and acidic side, I knew it would be best to select inert rocks (i.e. rocks that do not change the water’s pH or hardness). In the end, I decided to add 10lbs of black lava rock and 5 small pieces of dragon wood to my cart, as they were both hardscape materials that I've never used before and wanted to try out.

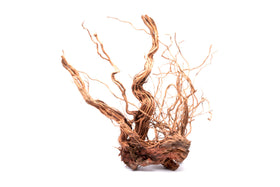
The 5 small pieces of dragon wood from Buce Plant
Tip: It’s always good to order more hardscape than what you plan to use. This way, you will have more selections to choose from, especially when ordering online.
In regards to substrate, I already had leftover UNS Controsoil and natural sand from previous builds that I could use. The UNS Controsoil will encourage healthy plant growth, especially in low tech planted aquariums. So all that was left to pick out were the aquatic plants. Keeping in mind that it would be a low-tech tank, I selected plants that would do well in this environment. I also wanted an aquarium that would be easy to maintain, so I decided to not use plants that would require frequent trimming. I ended up getting Java Fern Narrow, Cryptocoryne Wendtii Brown, Cryptocoryne Beckettii, Cryptocoryne Wendtii Green, Anubias Barteri Round (Gold Coin), Anubias Nana, and Bucephalandra Arrogant Blue.

Tip: If your plants arrive earlier than expected, you can keep them in a large zip-lock bag or clear container until you’re ready. Just make sure they get light and to mist them a few times a day!
Once I received all of my supplies, it was time to aquascape! I found the perfect place in my home for my tank. Then, I boiled all of the dragon wood for about 2 hours to remove most of the tannins and disinfect them, just in case there was anything toxic for fish. After that, I played around with the lava rocks in the tank to see what looked good and what didn’t.
I saw that I wasn’t getting the height that I wanted, and I knew I didn’t have that much substrate on hand to elevate the back of the tank enough to achieve the ideal height I was going for. Luckily, I had some crushed black lava rocks in supply, so I rinsed them a bit before adding them to the background of the tank to achieve more height.

Not only did these rocks help elevate the back, but they will also provide a huge amount of surface area for beneficial bacteria to live on as the tank cycles. After adding the small rocks, I poured all of the aquarium soil I had left on top. Then, I began experimenting with the hardscape again. After trying out different layouts, I was happy with my final result that used 3 large pieces of lava rock.

If you look closely, you can see a small cave formation in the middle. I knew my future betta fish would love swimming through and taking cover under it! After I placed the rocks, I began placing the dragon wood to see where they could fit in this layout.
However, most of the pieces were large with attention-grabbing characteristics. I felt that they took away from the simplicity of the rock layout when I wanted to keep the scape minimalistic. Luckily, one of the pieces that Buce Plant sent me was small and skinny, and looked great at the very back of the tank. The other pieces are now in storage for the next aquascape!

It was at this point that I realized I had forgotten to make sure there was space for my hang-on-back filter. I attempted to place it in the back, but unfortunately couldn’t get the intake tube to fit. I decided to remove the tube completely, and stuck an intake sponge on the intake instead. Thankfully, the filter was able to fit this way. Learn from my mistake and keep aquarium equipment like filtration in mind when setting up your next aquarium!

Now it was time to plant the Cryptocoryne! Since I didn’t want to cover the cave from the front view, I planted them on sides of the tank. Crypts are root feeders, meaning that they get most of their nutrients from the substrate, which is why I used UNS Controsoil in order to help them thrive in the tank. I kept a spray bottle on hand during this time and misted occasionally to prevent the plants from drying out.

After planting all the crypts, I added sand to cover the soil. I wanted a lighter look for the tank, and the aquarium soil alone was too dark for my taste. I had to add the sand carefully to ensure the tiny soil granules didn’t get bounced up during the process. To do this, I poured the sand into a small cup and gently poured it over the soil until about half an inch of sand covered the top.

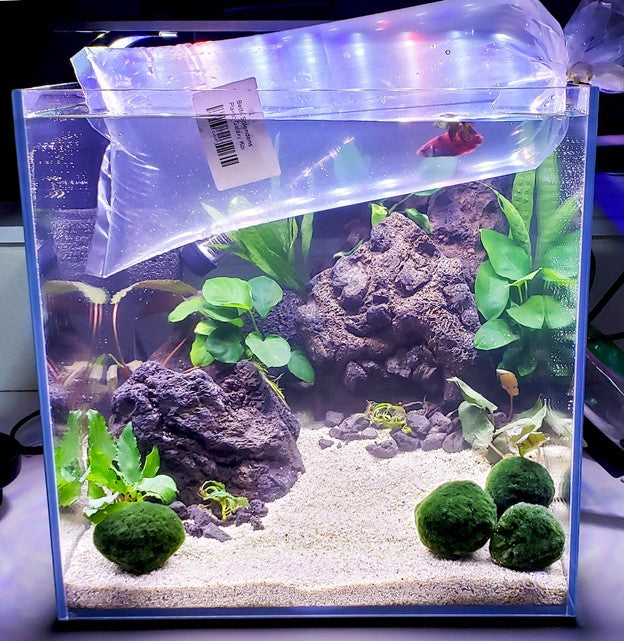
Finally, I filled the tank and added the rest of the live plants into cracks and crevices of the hardscape. I had some Marimo Moss Balls lying around and figured the betta would appreciate something soft to lay on, so I tossed them in as well. Then, I decided to throw in some more crushed black lava rock to the bottom of the tank as accent pieces to the larger rocks.
Lastly, I got the filter, heater, and the LED light set up. For the filter, I added already cycled filter media from an established aquarium to jump start the cycling process.

Marimo Moss Balls are a cute and easy algae that betta fish love resting on
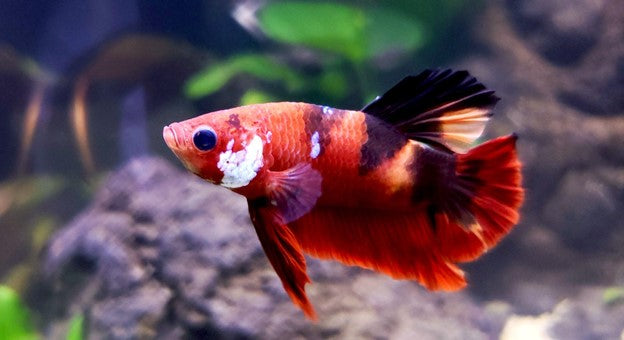
When the tank was finally ready, I headed to a local fish store to go betta shopping. They had a huge selection, and I ended up getting a Plakat Galaxy Koi Betta. Plakat bettas have shorter fins, which I personally prefer as they’re usually more active than the longer finned ones. Once I got back home, I started the acclimation process by floating the bag in the tank.

After acclimating, it was time to release the beast! He started exploring immediately, and I was happy to see that he was showing no signs of distress. As expected, he was very active and flared up against the sides of the glass a few times. He was very happy with his new home!

Named Yodi, in reference to Yoda since he is a Galaxy Betta
As of today, it has now been over a week since adding him into the tank, and all is well. I have the water level a couple inches lower while I wait for a glass lid to complete the setup. Thanks for following along on my new betta fish tank setup! I hope this helps out anyone considering setting up a nano aquarium for a betta fish.

For more information on planted tanks for bettas, check out the article Keeping Bettas: Why You Need a Planted Tank
Tell us - Do you have a planted betta tank? If not, would you like one? Comment your thoughts!
If you have any questions regarding this article, please DM us on Facebook or Instagram so we can assist you! @buceplant


Comments
Leave a comment