


7 Tips to Make Your Aquascape Look Professional
Written By: Chris (@shrimpery)
Do you ever see a photograph of an aquascape that looks objectively great while still feeling a bit… off? The key elements (healthy plants, clear water, thoughtful hardscape) are all there, but something is undeniably amiss, preventing the scape from reaching the next level. Here are some simple aquascaping tricks that can have a surprisingly large impact in terms of making your scape appear higher quality.
1. Keep your substrate very shallow at the front of the tank
An unnecessarily thick line of substrate abutting the front of the tank can impart an amateurish quality to an otherwise well-executed aquascape. It’s best to keep the substrate uncomfortably shallow towards the front, sloping to a greater depth as it moves backwards (to better accommodate growing roots). Often, this is best accomplished with cosmetic sand. Bonus points if you keep the substrate shallow on every glass surface except the back of the tank- this can create the pleasant appearance of a hill or an island of trees in a meadow.

2. Use neutral-colored sand of varying grain sizes
Maybe even mix in some small, rough pebbles here and there. The larger grain size and darker color will look more natural, and small particles of organic waste will settle between the different grain sizes more easily than in homogenous white pool filter sand. Sand is also best utilized sparingly, at the very front of the tank (perhaps to facilitate the shallow front substrate effect described above)- there is no need to recreate the Sahara Desert at the front half of your tank.
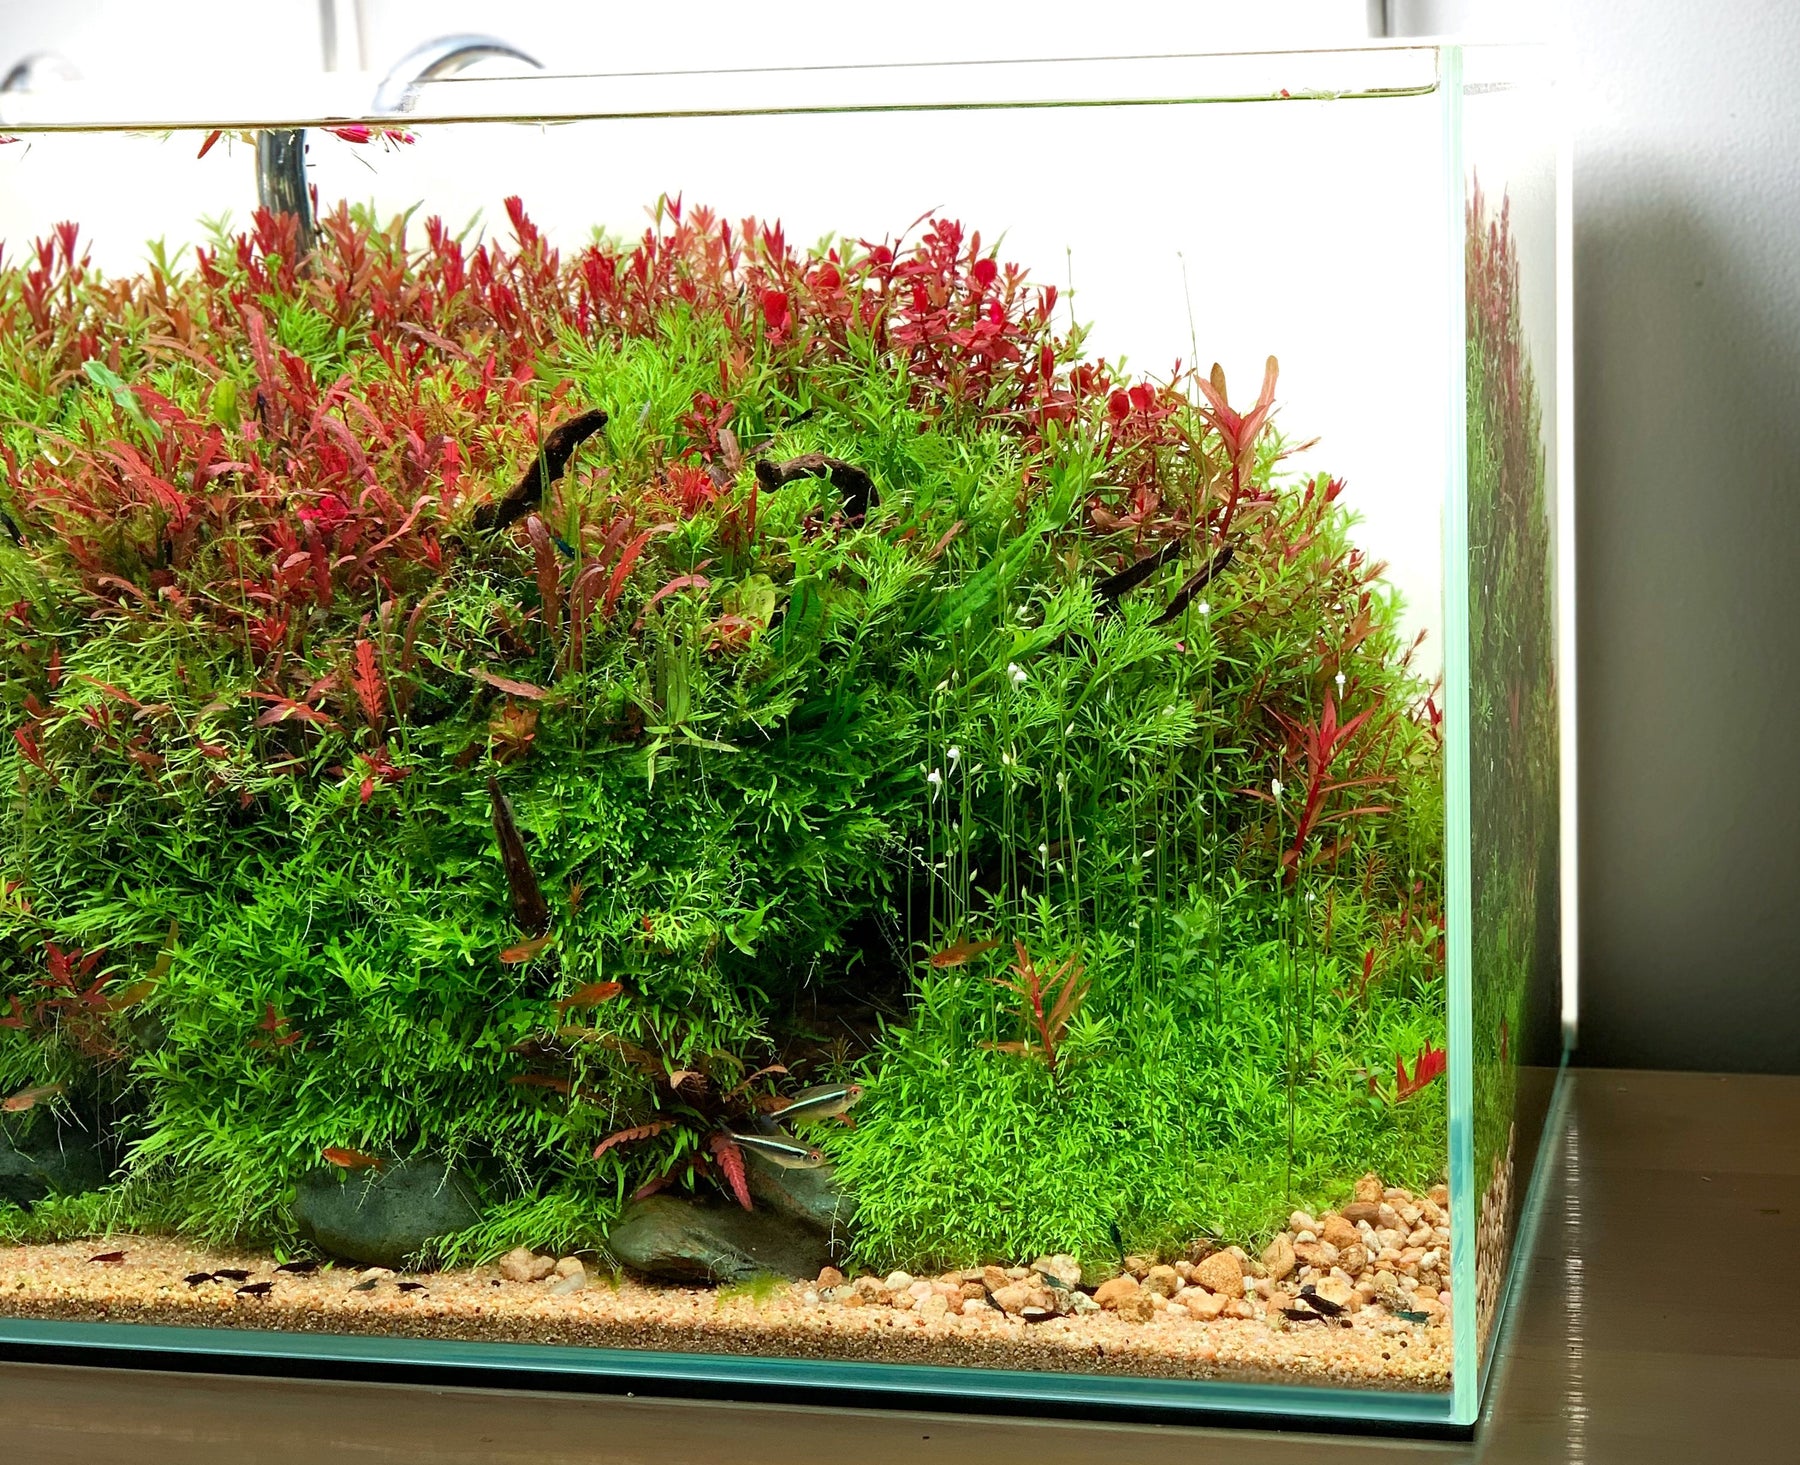
3. Photograph your tanks in natural lighting.
It’s amazing how beautiful plants look under diffuse, indirect natural light (or even direct sunlight). There’s nothing wrong with taking photographs of your tank in a darkened room; it’s just much easier to get an appealing shot in a room with natural light. It also helps to remove clutter from around the tank, out of the frame of view.

4. Plant your stem plants in dense groups right from the start
It is a common misconception that plants need to be spaced apart to “get enough light.” This may be true with incandescent aquarium lights from the 70s, but it is certainly incorrect in terms of modern light fixtures. Planting heavy from the start is a great way to achieve bushiness and ward off the algae blooms that commonly plague newly scaped tanks. Speaking of bushiness…
5. Trim stem plants frequently to encourage branching
As I like to remind people, most stem plants used in an aquarium setting will benefit from frequent trimming, as each trim point will typically sprout two or more buds, resulting in a bushier appearance. If the stems are never trimmed, they will appear as awkward noodles billowing in the back of the tank, with a stringy appearance.

6. Make the carpeting part of your tank extend only a few inches back.
This tricks the eye into perceiving greater depth and imparts a more expansive sense of scale, particularly if the section with the background stem plants extends a few inches closer to the front than is the norm.
7. Mix plant species within loose groupings
While it’s common and perfectly acceptable to plant discrete blocks of plants containing a single species, I find that mixing different plants amongst each other generates greater textural interest and looks more natural. In particular, carpeting plants often look best mixed together. For example, a pristine carpet of dwarf hairgrass can be elevated by the addition of some random Marsilea plants here and there.

Hopefully the tips I just outlined will help you showcase your tank to its fullest potential. With all of the time, effort, and thought that goes into creating a new tank, it would be a shame to detract from the big picture by fumbling seemingly minor details, distracting the viewer from all the great qualities of the tank. Do you have any tips or tricks like the above that I left out? If so, feel free to add them in the comments!
Tell us - Was this article helpful? Please comment your thoughts!
If you have any questions regarding this article, please DM us on Instagram or Facebook so we can assist you! @buceplant
Comments
Leave a comment